

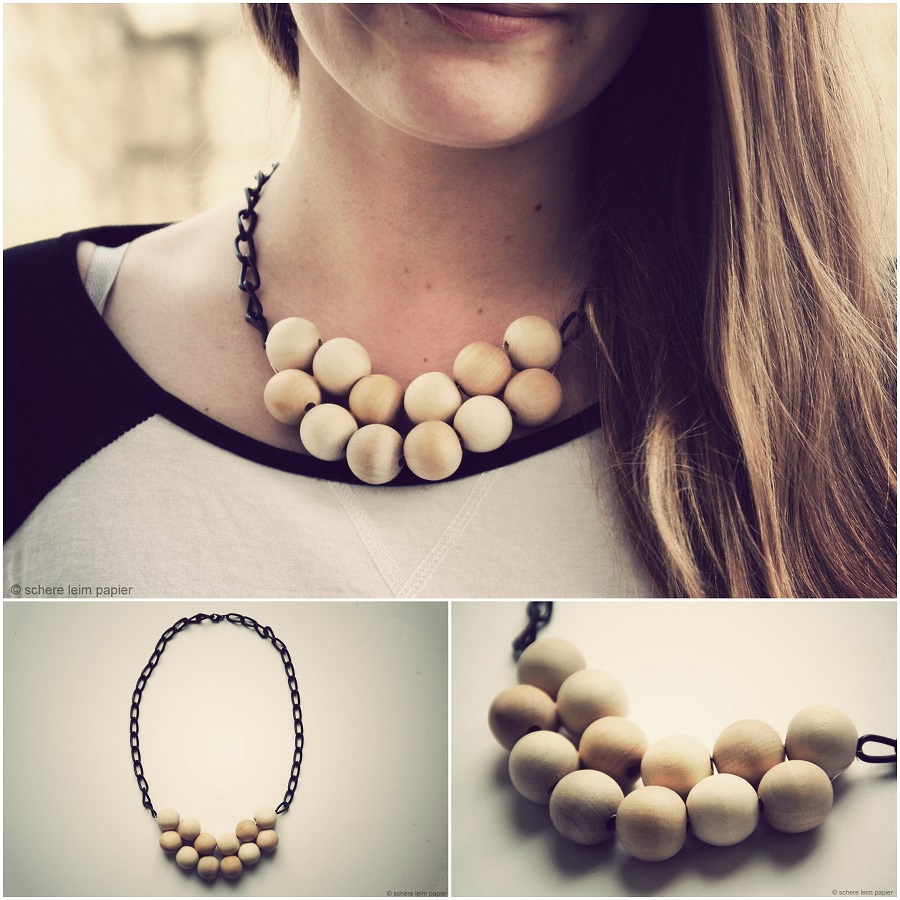
It’s time for another fashion tutorial, brought to you by schere leim papier. Every once in a while, I (Luisa) develop something for Jacky’s fashionblog whaelse.com. For more DIY-tutorials visit me here:

My absolutely favourite material for handcrafting ist bare wood. I love it’s smell, complexion and the way it reminds me of nature and nativeness. I decided to create a statement necklace, made mostly of untreated wood, because I’ve never seen one like that in a store. It’s easy to craft and I hope you will like it!
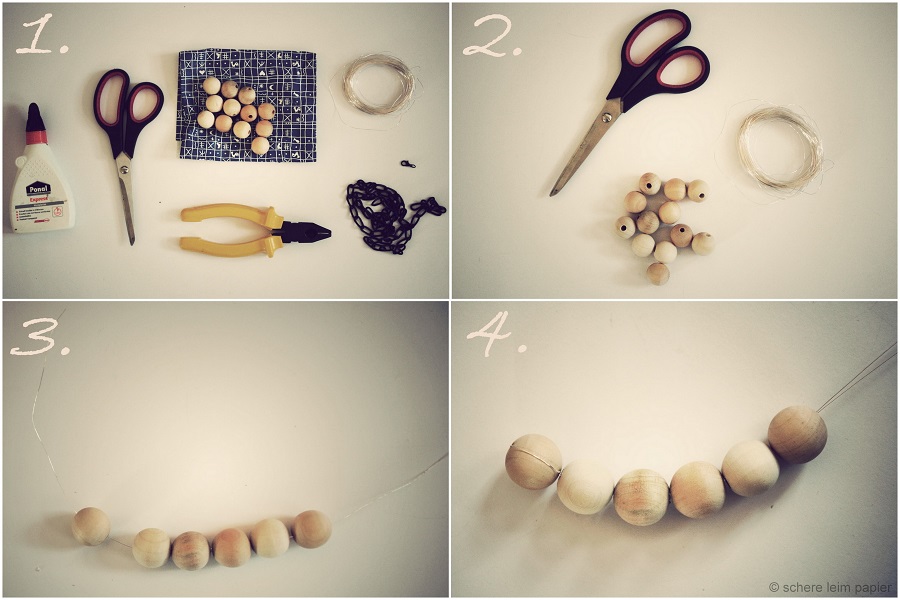
Materials you need: 12 untreated wood beads (2 cm diameter), a black metal chain ( cheap and easy to find in a building supplies store), a black closure for the chain, thin wire, pliers, scissors and wood glue. First you need a long piece of wire. Thread 6 beads on the wire, then thread one end of the wire back trough 5 of the beads, just as figured in the picture above.
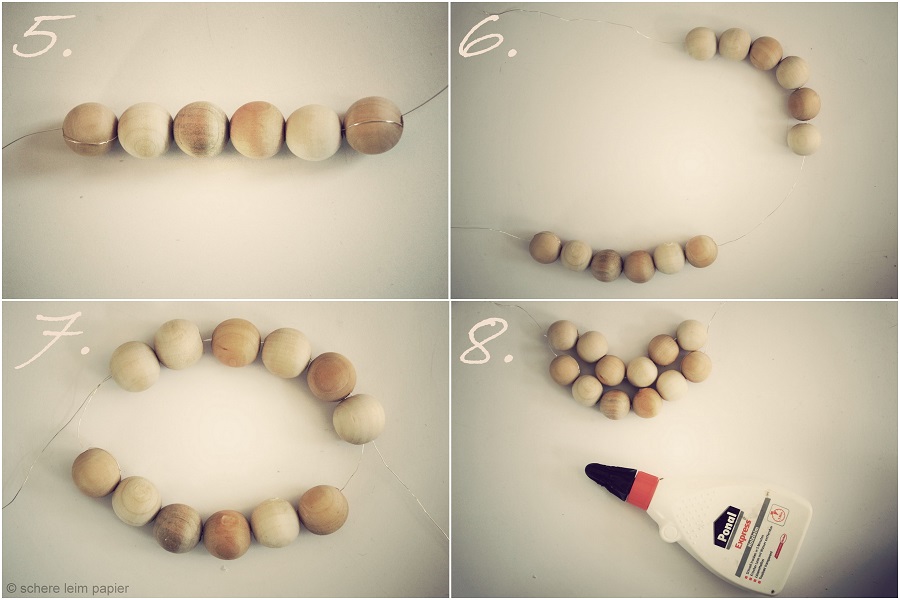
Next, you have to thread the other end of the wire trough 5 of the beads for fixing the 6 beads on the wire. Now take the beads that are left over. First thread them on one end, then thread the other end of the wire trough the 6 beads. Next, curve the wire for putting the beads in your desired shape. It works better if you don’t fix the upper beads before.
Put some wood glue on the beads, then press them together. When the glue has dried, you can fix the upper beads with the wire, just the way you fixed the first 6 beads before. For the next step we need the metal chain.
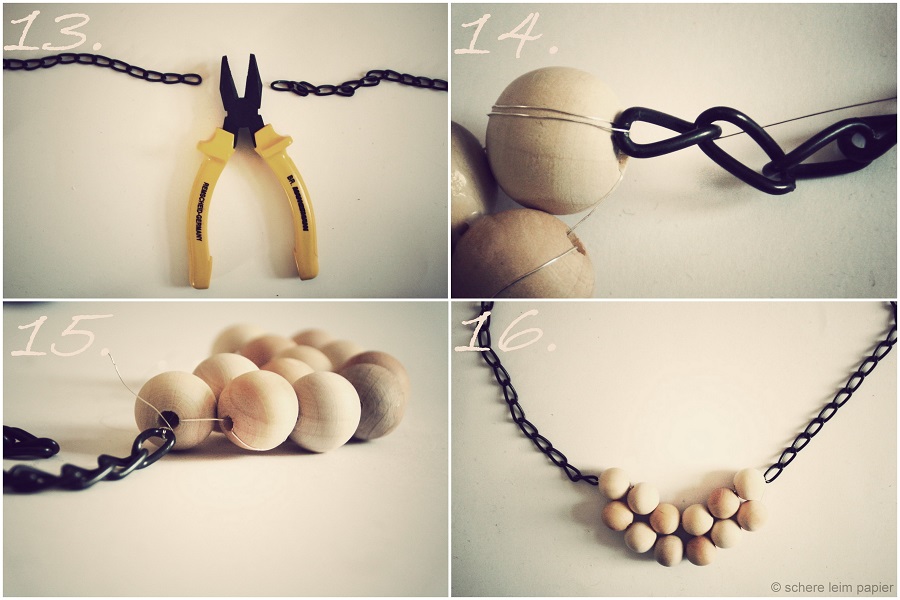
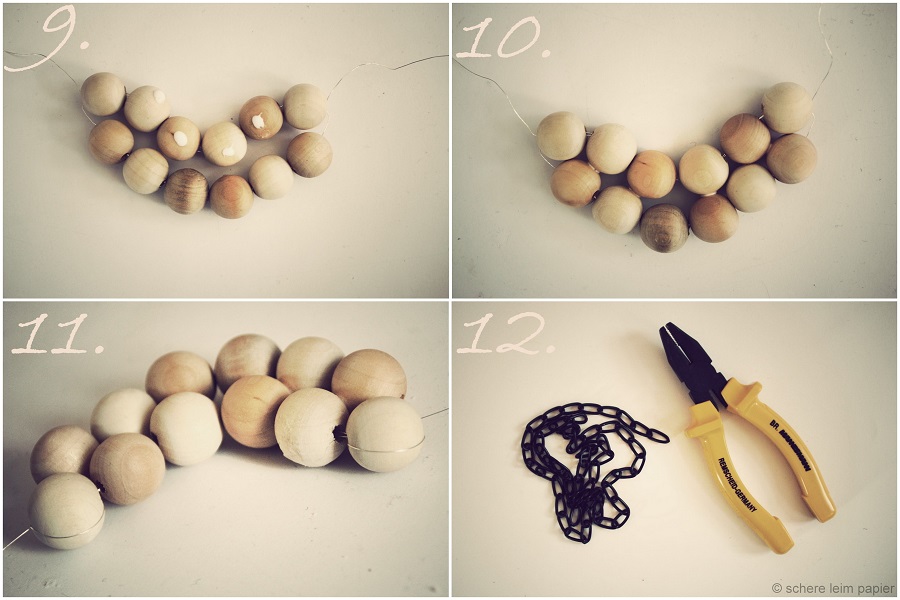
Cut the chain into 2 pieces. Fix the chain ends on the furthest beads with the wire ends. Therefore, first thread the wire trough the chain lug , then trough the bead. Repeat this step, but be sure to have the threaded wire on the back of the necklace.
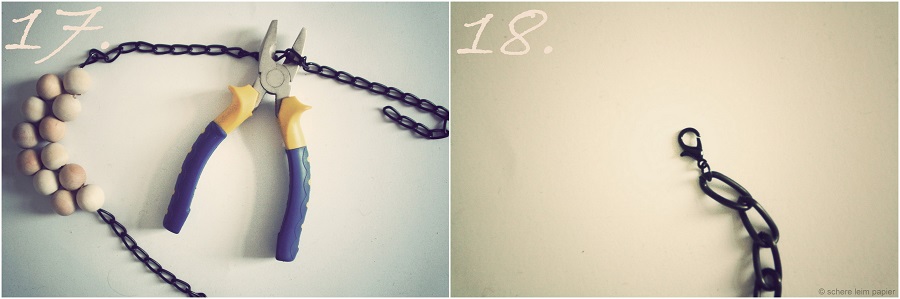 Lastly, you have to cut the the chain ends. Choose a bigger size to have some scope to change the way to wear the necklace. Fix the closure to one chain end.
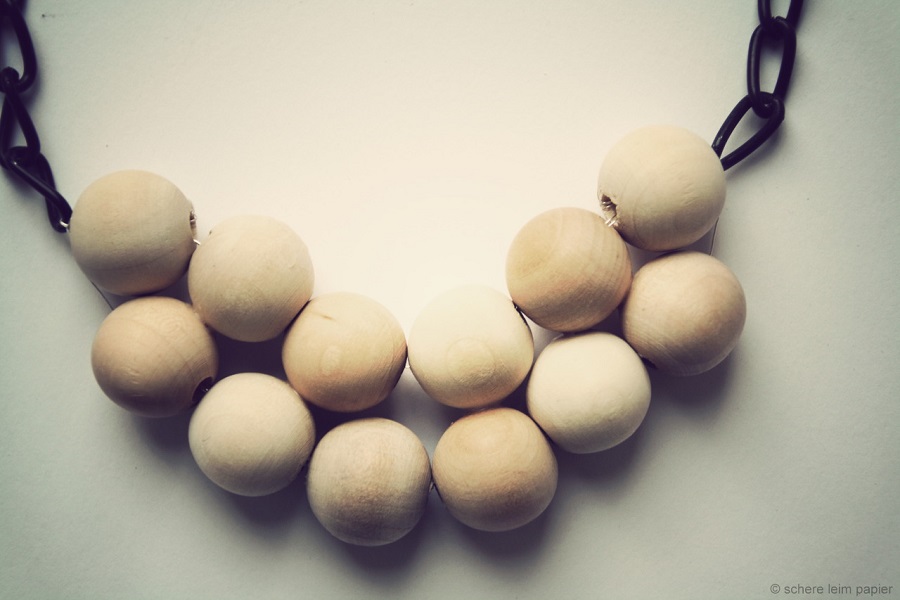
Done! Tomorrow, Jacky is going to give you great tips on how to wear and combine the necklace!



Comments
Simona
Good job, wish I was capable of making my own jewelry. Simona
Pretty Meniso
Wow, what an amazing DIY, I love the necklace it is super cool, well done Would you like to follow each other on bloglovin and/or GFC? If you want follow me where you want and I follow you back http://prettymeniso.blogspot.co.uk
Steffi
Immer wieder toll, wie man mit wenigen Mitteln soviel erreichen kann. Die Kette ist super schön. Einfach supi!
DIY Statement Kette aus Holz für whaelse.com |
[…] lässt, sondern auch ganz einfach selbstgemacht werden kann. Meinen Gastbeitrag findet ihr hier. Wenn ihr mehr rund um Fashion, Lifestyle und Reisen lesen wollt, schaut mal bei Jacky […]